Create a One-Color Print Ready File for a T-shirt from a Full Color Image in 5 Minutes
Blog
Introduction
Welcome to SEO-Web Technologies, your ultimate resource for all things digital marketing. In this article, we will guide you through the process of creating a print-ready one-color file for a T-shirt from a full-color image in just 5 minutes. With our step-by-step instructions, you'll be able to produce high-quality prints that leave a lasting impression.
The Importance of Print-Ready Files
When it comes to T-shirt printing, having a print-ready file is crucial. A well-prepared file ensures that your designs are accurately translated onto the fabric, resulting in crisp and vibrant prints. By following our guidelines, you'll be able to optimize your file for printing, saving time and money in the process.
Step-by-Step Guide
Step 1: Choose the Right Image
The first step in creating a one-color print-ready file is selecting the right image. Consider the design you want to print on your T-shirt and choose a full-color image that reflects your vision. Keep in mind that intricate details may not translate well into a single color, so aim for simple yet impactful designs.
Step 2: Convert to Grayscale
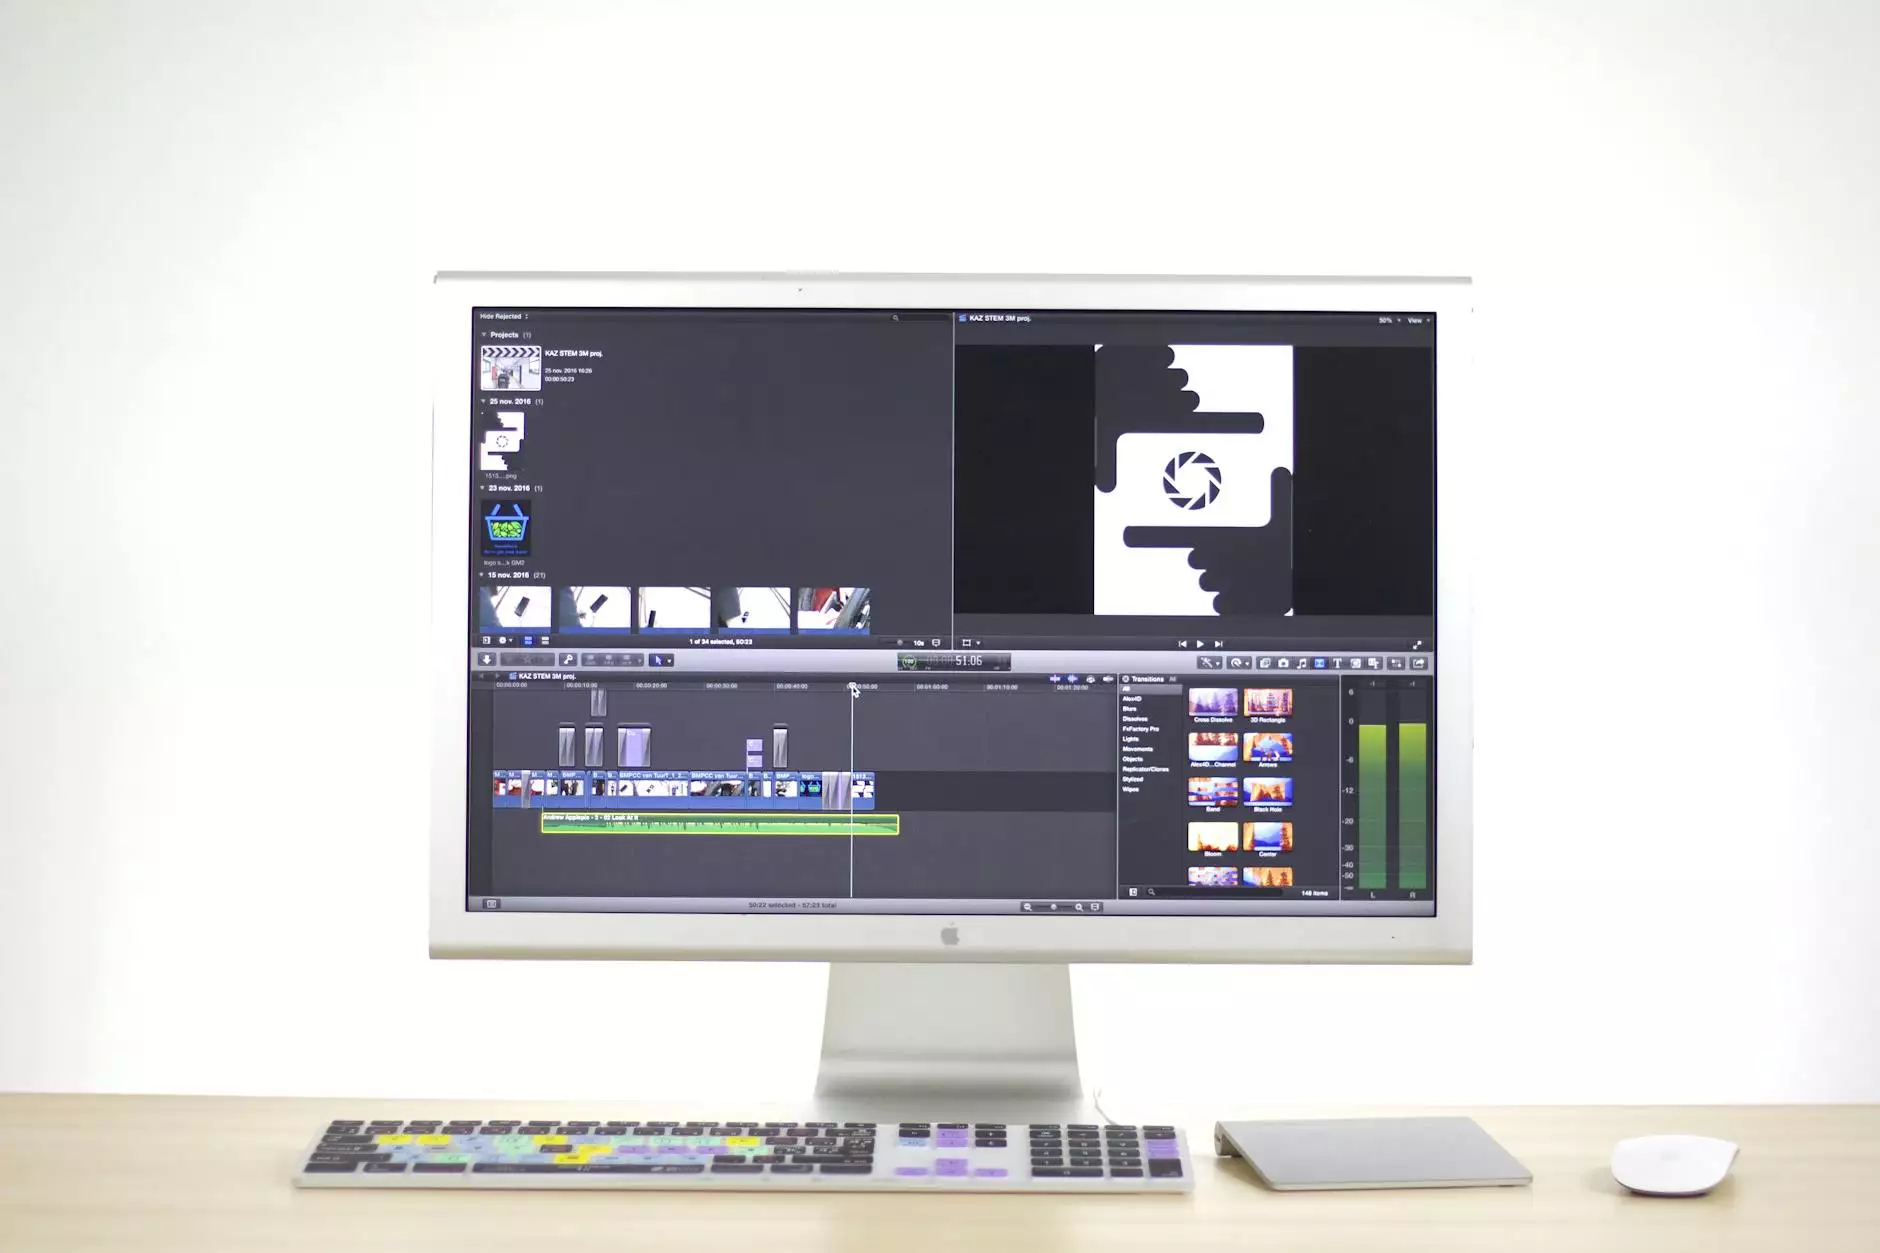
Once you have your image, it's time to convert it to grayscale. This step eliminates any color information and prepares the image for the next stage. Use image editing software like Adobe Photoshop to easily achieve this conversion.
Step 3: Adjust Contrast and Levels
After converting to grayscale, adjusting the contrast and levels can greatly enhance the clarity of your design. Play around with these settings until you achieve the desired result. A balanced distribution of black and white will ensure a more defined image.
Step 4: Simplify the Design
To create a one-color print-ready file, it's essential to simplify the design. Remove any unnecessary elements and focus on the core features you want to highlight. This step ensures that your design remains recognizable even with limited color information.
Step 5: Convert to Bitmap
Now that your design is simplified, it's time to convert it to bitmap format. Choose the appropriate resolution and adjust the dither settings to achieve the desired level of detail. The bitmap format translates your design into a series of pixels, ready for print.
Step 6: Final Adjustments and Export
Make any final adjustments to ensure the quality and accuracy of your print-ready file. Pay attention to any resizing needs and double-check for any issues that may affect the printing process. Once you're satisfied with the result, export the file in the desired format, preferably a high-resolution file such as TIFF or PNG.
Step 7: Consult a Professional Printing Service
Now that you have a print-ready one-color file for your T-shirt, it's time to find a reputable printing service. SEO-Web Technologies offers expert printing services, ensuring the highest quality prints for your T-shirts. Contact our team today to discuss your requirements and let us bring your designs to life.
Conclusion
Congratulations! You've successfully learned how to create a print-ready one-color file for a T-shirt from a full-color image in just 5 minutes. By following our comprehensive guide, you can optimize your designs for efficient and high-quality printing. For all your digital marketing needs, trust SEO-Web Technologies to provide you with expert assistance every step of the way.
Get Started Today!
Don't wait any longer - put your newfound knowledge into action and start creating stunning T-shirt designs now. SEO-Web Technologies is here to support you in all your digital marketing endeavors. Contact us today to learn more about our services and take your business to new heights.

